[et_pb_section bb_built=”1″ admin_label=”section”][et_pb_row admin_label=”row”][et_pb_column type=”4_4″][et_pb_text admin_label=”Text” background_layout=”light” text_orientation=”left” use_border_color=”off” border_color=”#ffffff” border_style=”solid”]
I love this time of the year, much milder weather and so many flowers in bloom everywhere – just walking around and smelling the aroma in the air is so wonderful. I am sure I am not the only person who feels the desire to take photographs of the beautiful flowers around.
There are plenty of resources on line on flower photography, and most mention some technical aspects (ISO, depth of field, shutter speed, types of lenses etc.). So I’ve decided to write a blog for people who don’t want to invest the time in understanding all those things, but still want to improve the images that they take, be it with a DSLRs, compact cameras or mobile phones. By following these 10 simple tips I can guarantee that you’ll get images that will bring you joy and you’ll be proud to share with friends.
Tip 1. Stay away from the bright sun light
It’s best to use natural light for flower photography, as flash makes flowers look flat and spoils the colours. However direct bright sun light is even worth than flash, as it simply washes the colours out and makes your image overexposed. So it’s best to find solid shade or wait for the moment when the sun is gone behind a cloud and take your photograph at that moment.
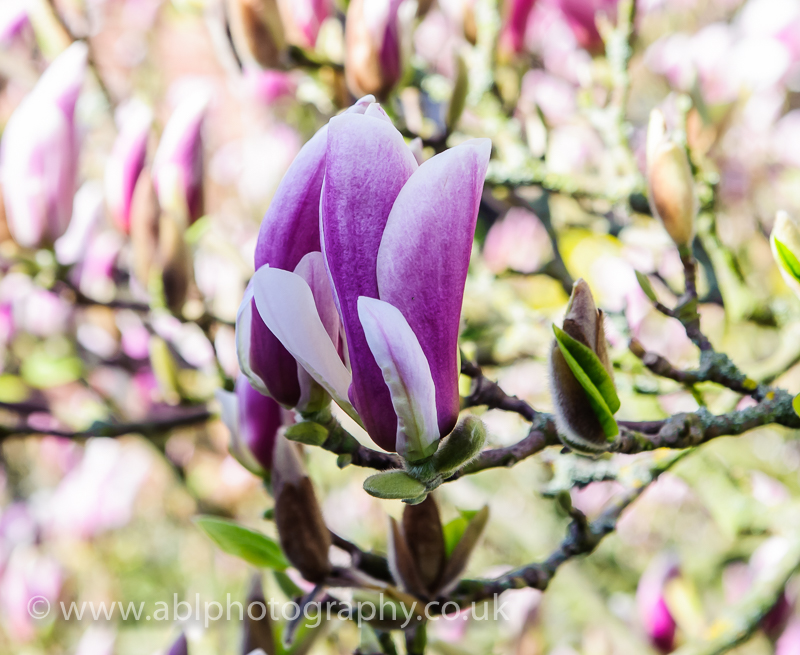
In the example below the bud that I was photographing was in the shade, so we can see all the details and the true colour of it, while the flowers in the background were under direct sunshine and are overexposed (too bright, so details are lost).
Tip 2. Get to the same level as the flower
If the flower is on the ground, you need to get down to the same level as the flower. If your flowers are on the window, you just need to get a bit lower to find the right view point.
It’s very easy to just take a picture of a flower from wherever you are, but when you get lower, you can discover some beautiful new angles and create more interesting images.
Tip 3. Think about the background
It’s always better if the background not busy, ideally reasonably solid colour – like the green leaves and blue sky in the examples below. Sometimes by moving slightly you can pick a better background for your photograph.
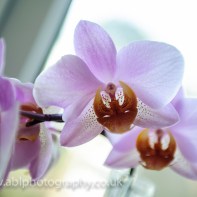
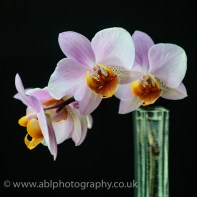
Here is an experiment with my orchids at home, these same flowers on the window, against red kitchen wall and against my black studio backdrop – look totally different.
Tip 4. Less is more
I have a very beautiful magnolia tree in front of my house, and it looks like this.
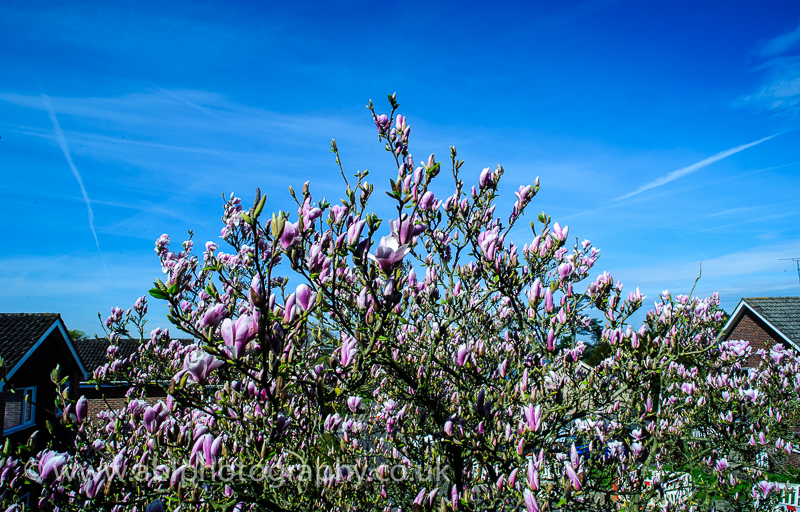
There is nothing wrong with taking a photograph of the whole tree, but it’s kind of “nothing special” and everyone does it. It’s only when you get to zoom in and capture the details of individual flowers, it becomes a lot more interesting.
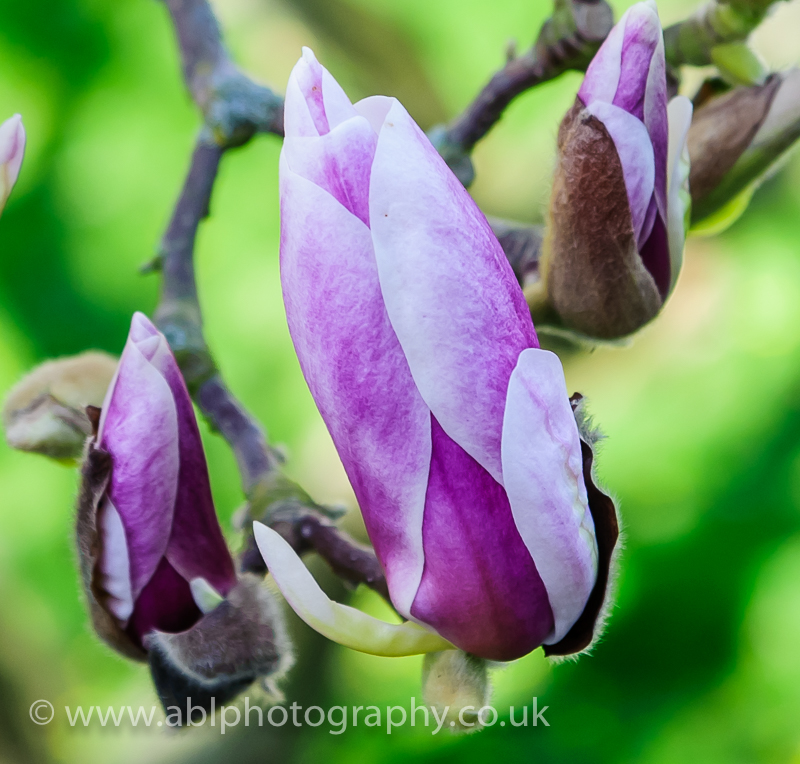
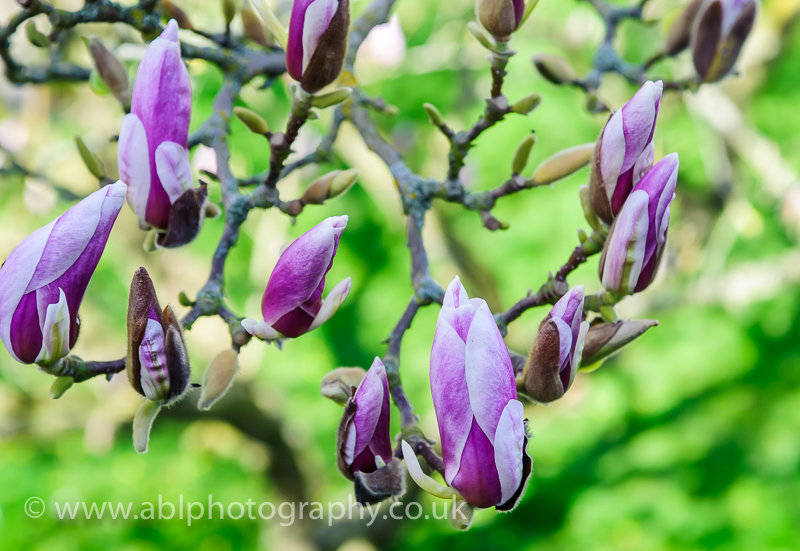
5. Play around with colours
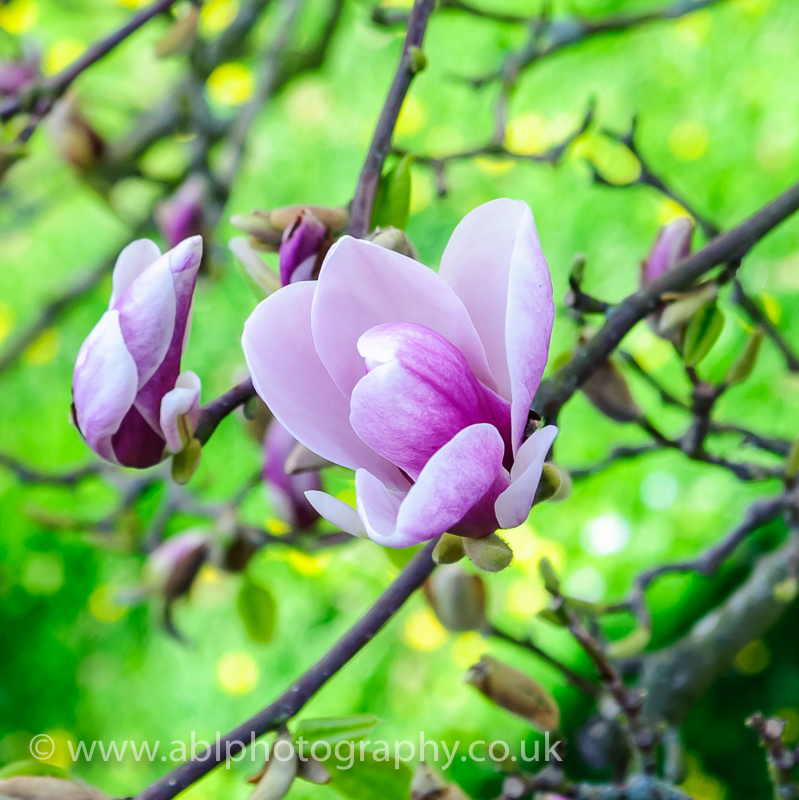
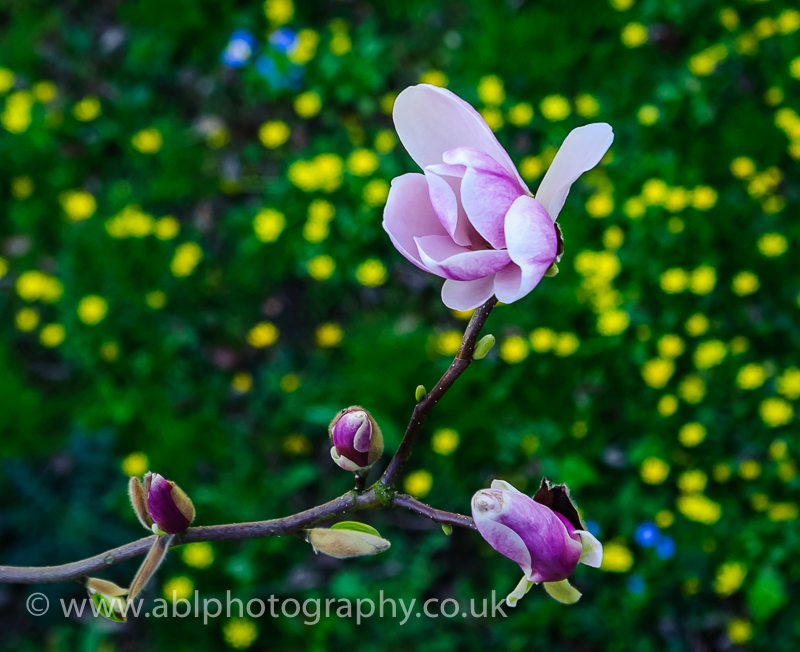
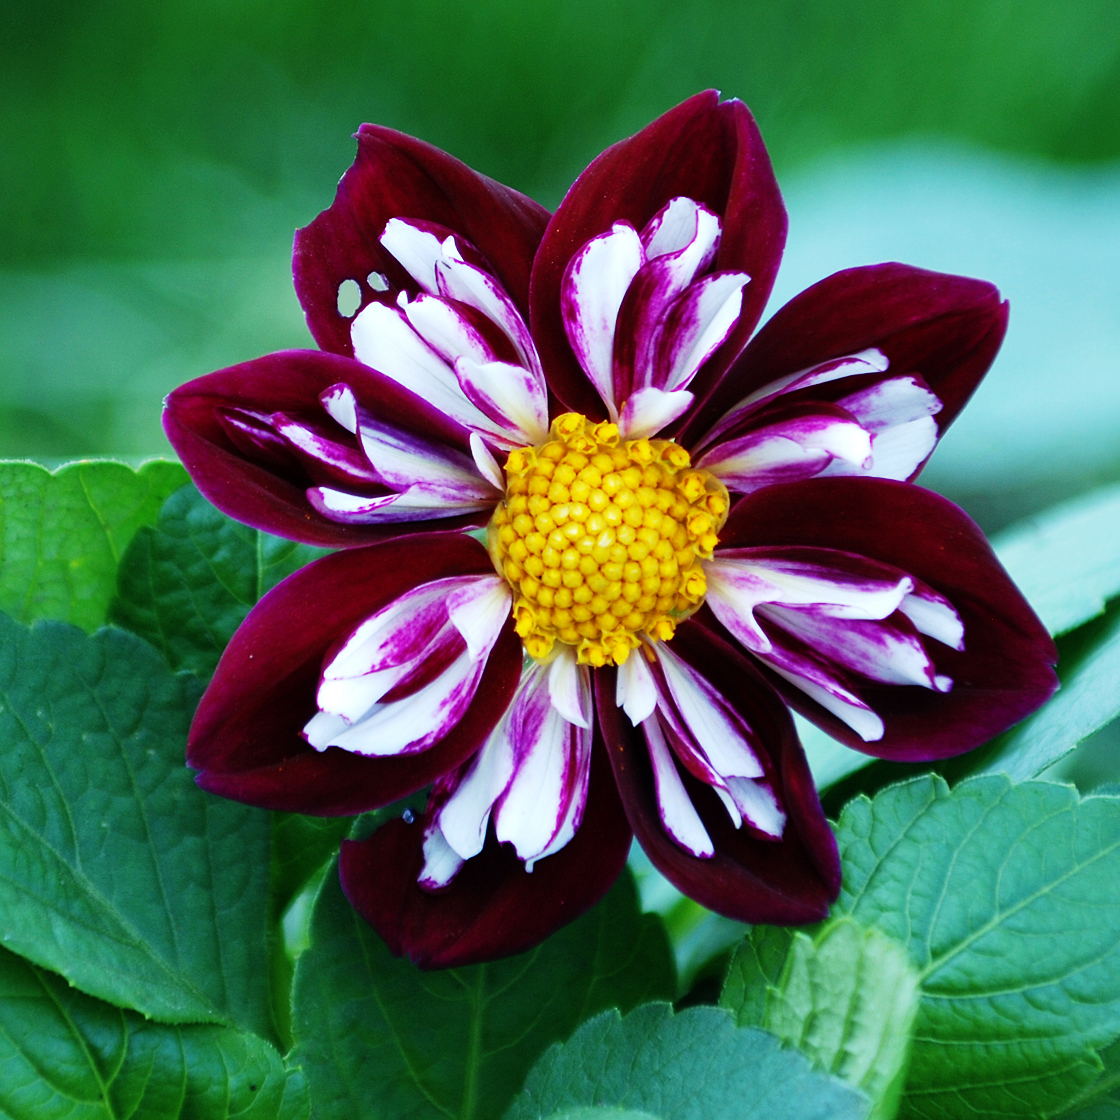
Vibrant colours look great, so look for different colour combinations. For example, the magnolia shot below was taken from my balcony and there were some blue and yellow flowers on the loan underneath it, so I think it give this image just a little extra kick. The sunflower is just colorful as it is, so looks great just was captured.
6. Zoom right in & fill the frame
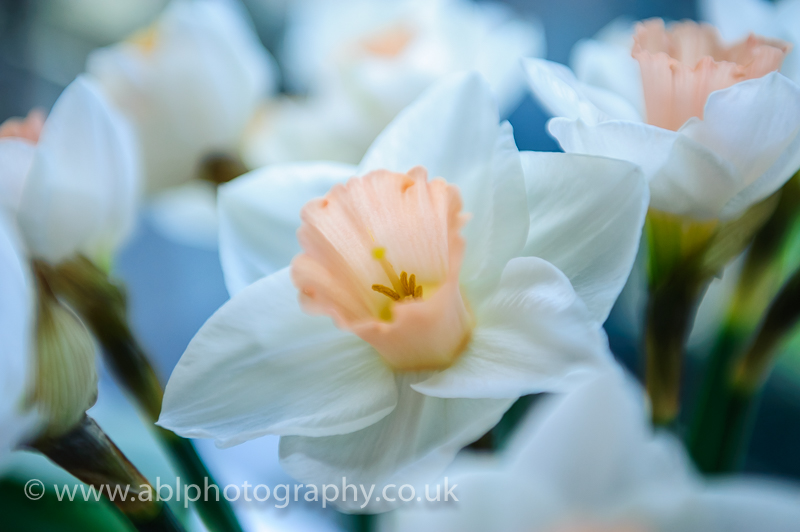
Zooming right in can help create very unique artistic images, Don’t be afraid to get into the middle of the flower and capture some interesting details that human eye won’t necessarily appreciate without the zoom.
7. Keep you camera steady and beware of the wind
England is a windy place and if you are taking photos outdoors, it’s likely that the flowers that you’d like to capture will be shaking. You need to be patient and wait for the wind to stop, or if there is no chance of it, take your flowers indoors and take photos near a window.
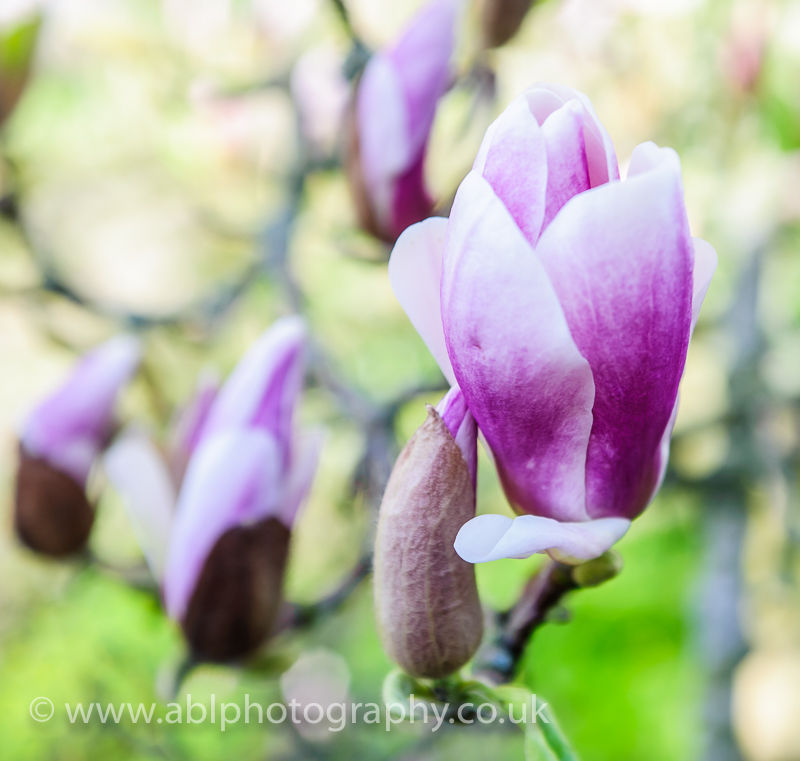
I had to wait to the wind to stop to be able to take the shot below, otherwise it would not have been as sharp. Also it’s good to lean on something to help keep your hand steady, the least shake it is, the better chances you’ll have of getting a sharp photograph.
8. Think about composition
It’s always good to picture your images in your mind first before you click on the button. Composition can make all the difference, so try different things and find the one that really catches your eye.
9. Take multiple shots
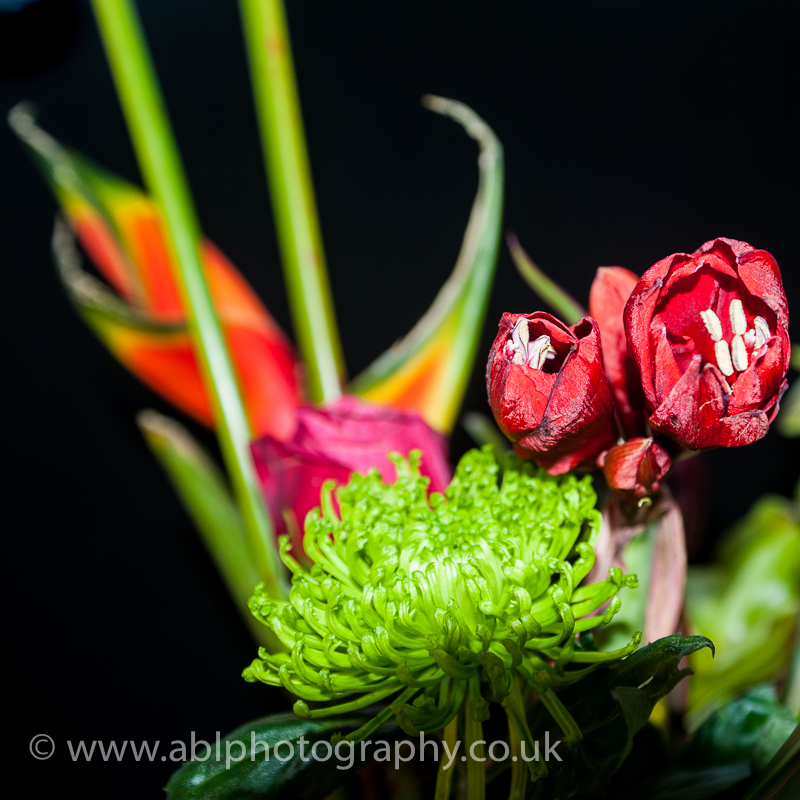
We are so lucky with digital photography, it does not cost any more to take extra shots. So please never just go away with one, try a few different things, change the angle, change your height, change what’s in the shot – sometimes a very small changes makes all the difference.
10. Have fun!
At the end of the day, there is no right or wrong way to do it. Someone may read my blog and say that everything I say is wrong… I don’t mind. I love taking photographs and they are purely for my own pleasure. Just do what makes you happy! Break the rules if you want to, at the end of the day this is is for your pleasure and enjoyment – if you like it, then it’s good enough!
[/et_pb_text][/et_pb_column][/et_pb_row][/et_pb_section]


